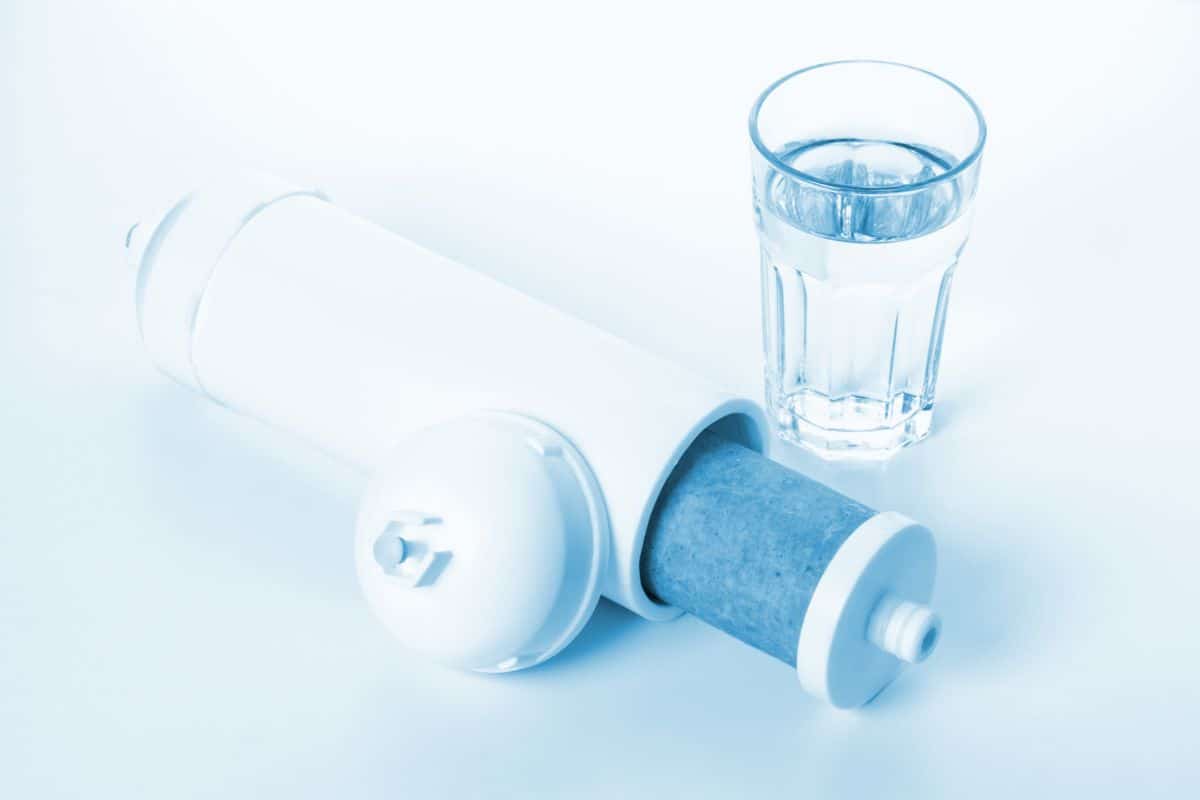
Have you ever wondered if the musty taste of your water is due to impurities and harmful chemicals? Well, sometimes that can be the case. One of the solutions could be installing an under-sink water filter.
Because this is an effective way of filtering your water without having to first pour it into another receptacle.
This will ensure that the water from your tap will come out free from things like chlorine, nitrates, and even asbestos.
No products found.
No products found.
So how can you install your water filter under your sink successfully? What things should you be looking to avoid?
Is there a one-size-fits-all approach to installing an under-sink water filter? Well, we would recommend reading this article to get all the details.
Contents
Why should you have an under sink water filter?
Lots of people might be worried about the quality of the water in their local area.
No matter how many filtering systems it might have gone through at the treatment plant, can you guarantee that it will reach your glass without any impurities?
Sadly, this is not the case and you might already be seeing evidence of the consequences.
You might notice that you are getting skin rashes, that the water coming from your tap doesn’t taste good and that the quality of your clothing is being affected after it has been washed.
This might be because you are living in an area with hard water, which means it is a lot denser with minerals, which can be harsh on soft skin and clothing.
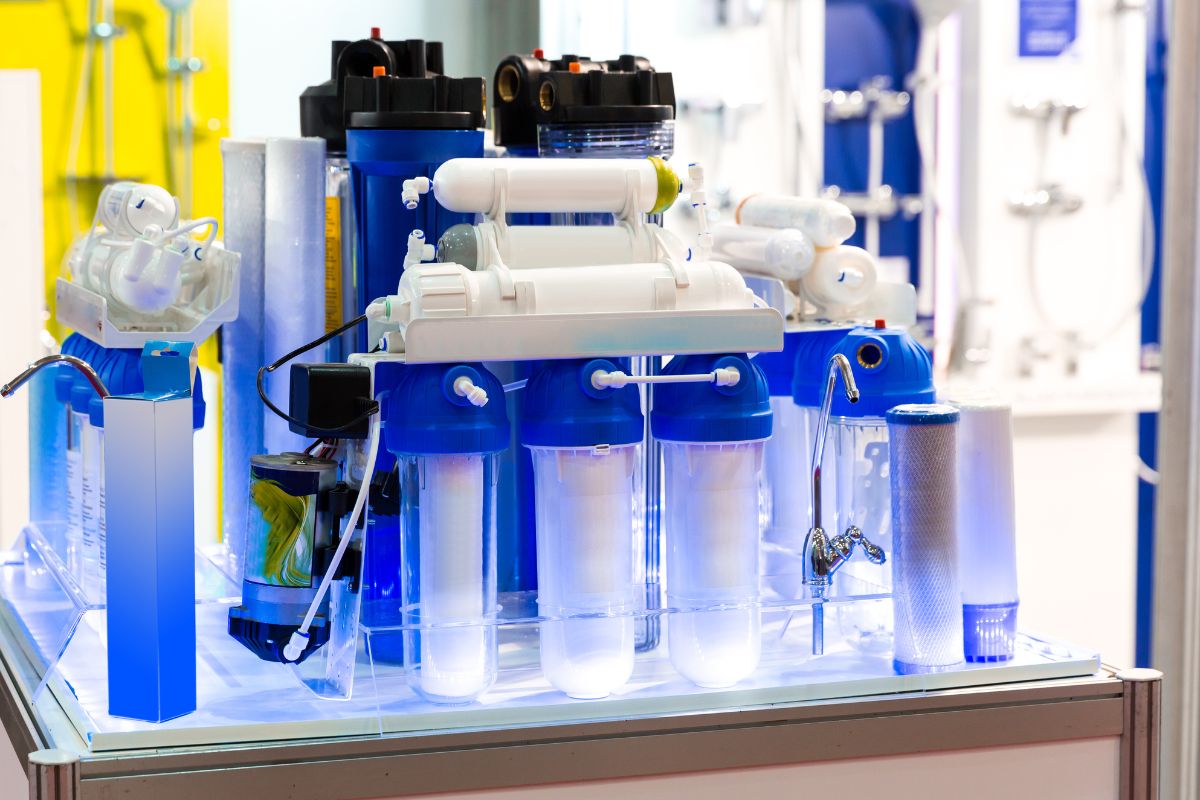
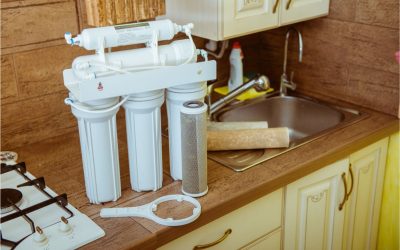
One such method of removing all of these impurities is by installing a water filter under your sink.
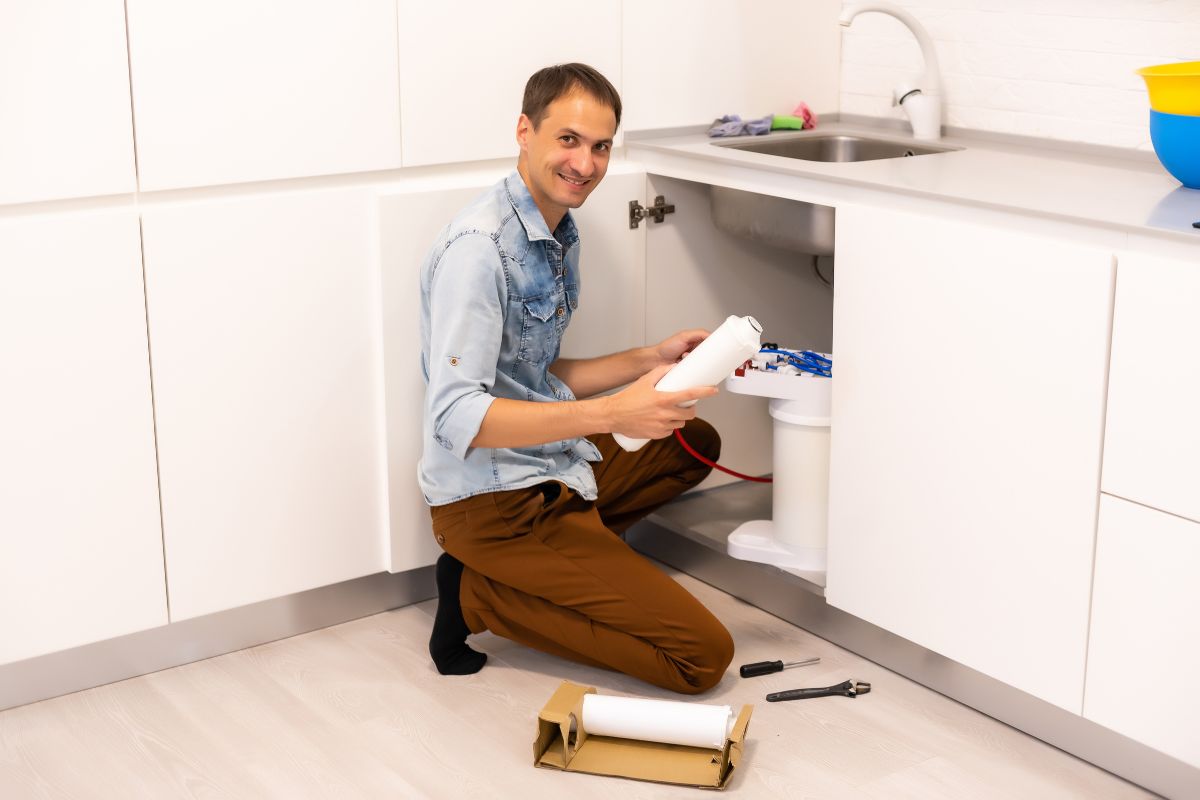
Installing your under sink water filter
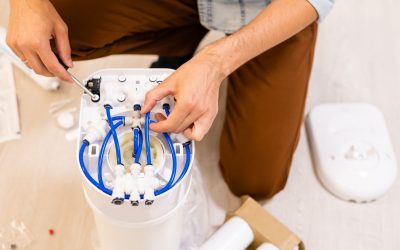
There are some basic steps that you have to follow for fitting your under-sink water filter system. Although you should bear in mind that not all water filters are the same and that this is a general guide to follow.
1. Turning off your water supply
The first thing you’ll want to do is to make sure there is no water running through your sink while you are working. You will be removing some of your piping, so the last thing you’ll want is for any water to be leaking into your kitchen.
2. Check the position of your tap
Make sure that you place the tap of your filter in the correct position. You can have it either running through the counter or up through the edge of the sink itself.
You’ll need to make sure that these holes you can use to gain access to the pipes underneath.
3. Drilling through your sink
You’ll need to make sure that you drill a hole that is big enough to accommodate your tap. The measurements of your tap should be indicated in the manufacturer’s instructions.
You’ll want to make sure that your hole is not too big, otherwise, you’ll run the risk of leaking and your filtering system getting further damaged in the long run.
4. Getting the tailpipe fitted
Make sure that you get the tailpipe at the right end. Ideally, you should have one end of your water filter attached to the taps, while the other end should attach to the water supply.
The manufacturer’s instructions should give you a better idea of which end goes in which hole. Make sure that the tap is connected to the output and that it fits properly.
5. Make sure the washer nuts are secured tightly
The only way that you can make sure that your washer nuts are securely fixed is by tightening them appropriately. You’ll need to make sure that your washer fits properly.
Your water filter should come with appropriately sized locking nuts. If it does not, then you’ll need to measure the faucet output and get the lock nuts that conform to the size of the tap connection.
6. Connecting The Pipe With Your Tap
Now that you’ve done this, you’ll have to make sure that your pipe is connected properly to your fittings. The lock nuts should be secured tightly but not so tightly as to cause cracks in your tap or your sink unit.
7. Saddles Valves
You might see a reference to a saddle valve in the instructions that come with your water filter. However, if you do not see one, then you’ll still need to make sure that the nut that it comes with is tightened with your finger first.
The reason why you’ll want to tighten it with your finger is because you’ll want to make sure that it’s in line first before securing anything. If your water faucet is not in line, then you run the risk of it leaking.
8. Attaching The Clamp
You’ll need to make sure that your water filters are clamped properly, although there will be some models of clamp that will not have such clamps on them.
9. Make Sure That Your Water Filter Is Aligned
The alignment will be very important for your water filter, as this will be the only way to ensure that it is secured properly.
You’ll need to make sure there are no weak points in your piping, as these will be the areas where leaks will spring.
10. Tightening Valves
You’ll need to make sure that your valve has been tightened properly before you activate the water system once again.
You’ll need to make sure that you double-check the point where the water comes through the water filter and into the sink.
11. Turning On The Water
Now that you are sure that everything is connected securely, you can try turning on the water. Make sure that you keep an eye on the water pipes and the filter itself to ensure that there are no leaks.
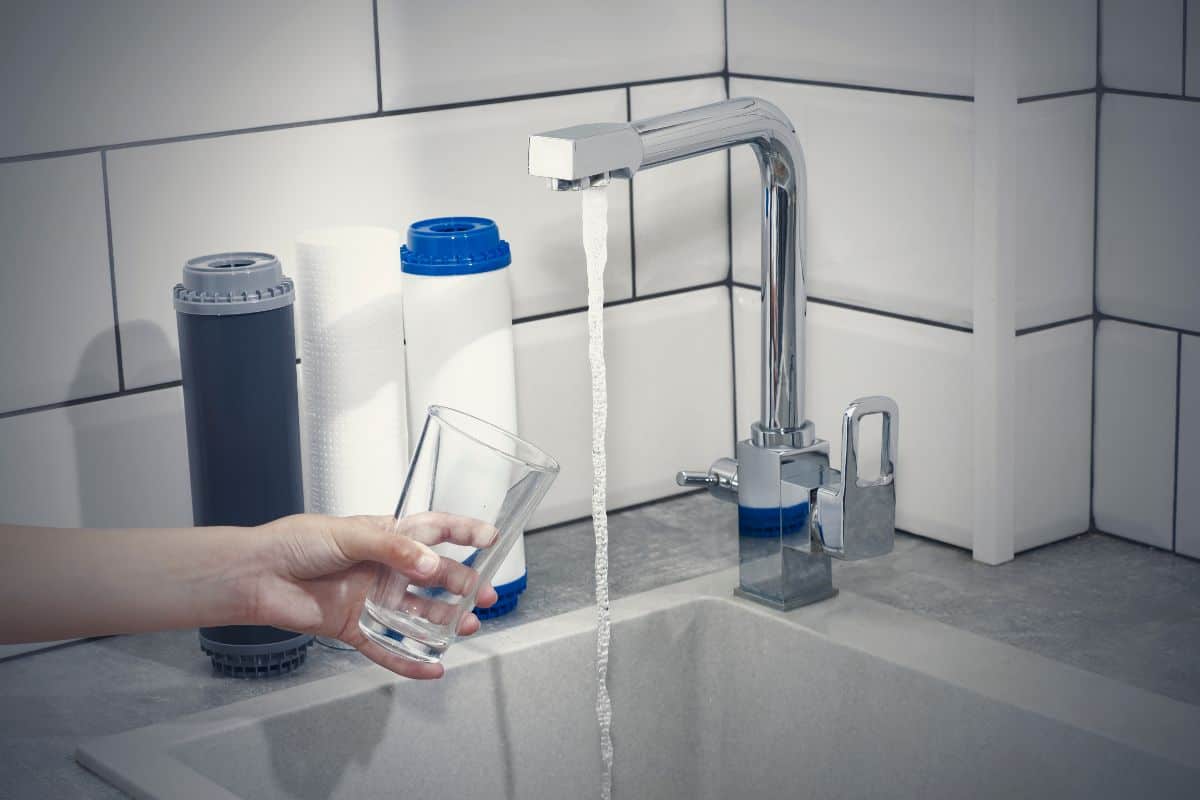
12. Running Water Through The Faucet
Now you’ll need to make sure that you run the water through the faucet to ensure that there are no leaks in your tap.
Conclusion
We hope that our guide to installing your under-sink water filter properly has helped you to tackle what can often be a tricky task.