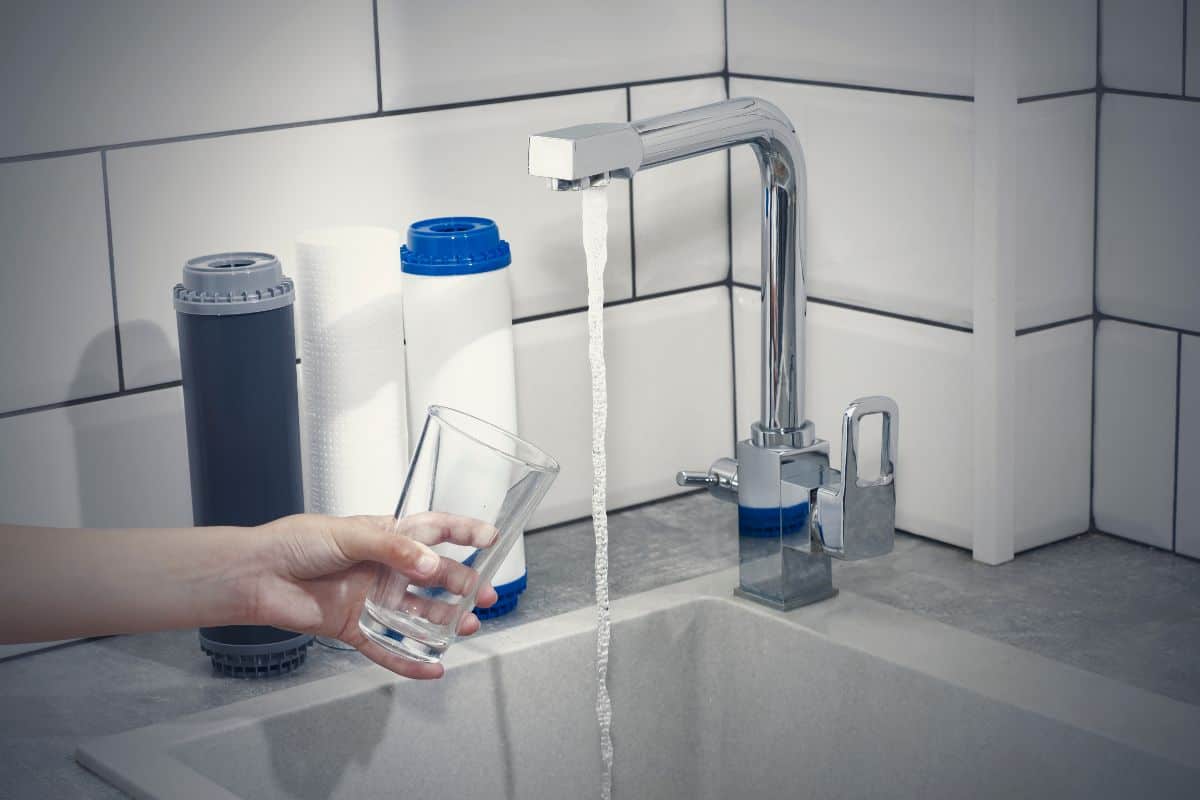
If you want to deliver clean drinking water to you and your family, then one method you might have looked up is the best whole house water filter.
If you have polluted or hard drinking water, then it can affect so many things in your home: how your clothes turn out in the wash, allergic reactions in the skin and whether you get limescale build-up on your shower or in your kettle.
So how can you properly set up your whole house water filter system? How can you make sure that it will not suffer from any leaks? What methods can you employ to reduce corrosion? Well, follow our guide and you’ll no longer be in the dark when it comes to setting up your water filter.
No products found.
No products found.
Contents
Where in your house should you install your water filter?
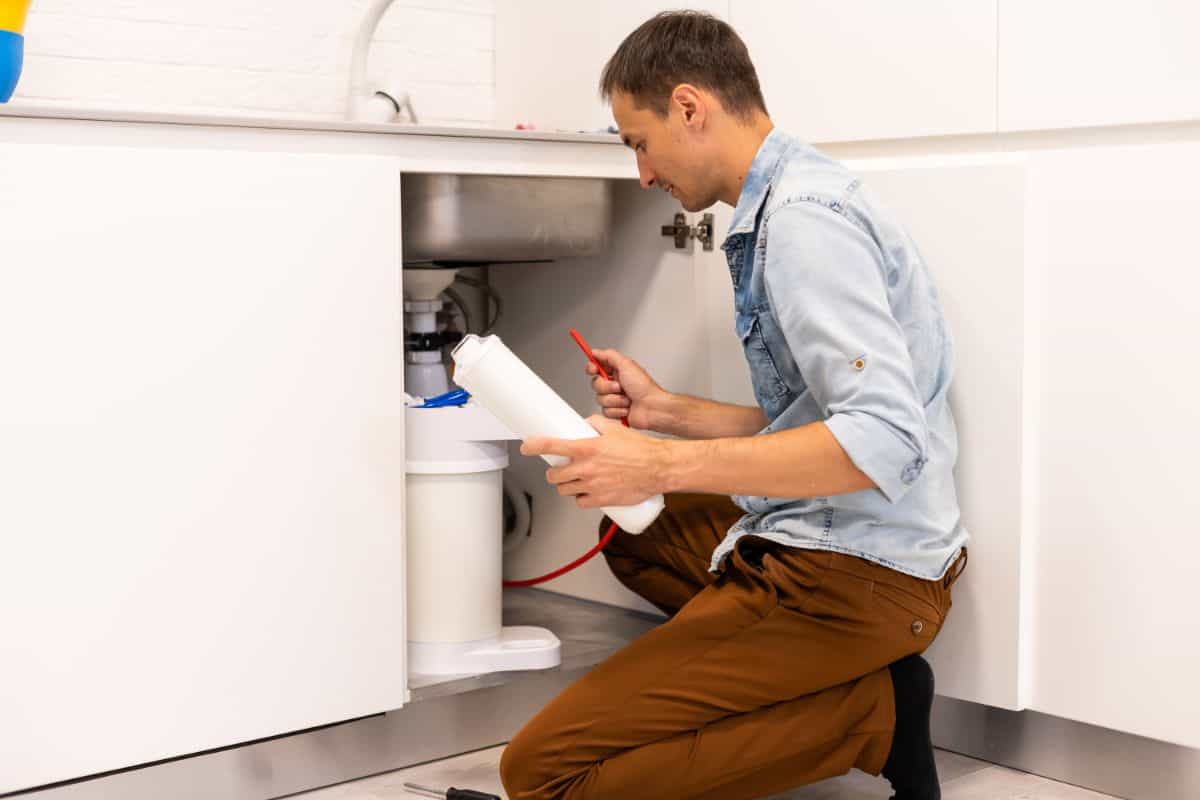
You’ll have to make sure that your water filter is installed in exactly the right place where the main water line enters your home. This is so that you can be sure every water source in your home gets filtered water.
Another thing you’ll need to remember when you are installing your water filter is the fact that you’ll need to have access to it in order to change the filters and generally maintain them.
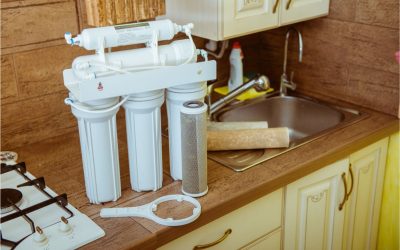
Some people have their water source under their sink, which is the perfect place to install it, as it will give you complete access to it at all times.
We would suggest that you install your water filter near your shut-off valve. You should also place it upstream from your heater valve, as making sure your heater gets filtered water is very important for preserving its integrity.
What tools will you need to install your water filter?
Here is a short list of some of the things on your water filter that you’ll need to install your system:
- Mounting brackets – these will be very important for making sure your water filter is affixed to the wall.
- Filtration system – this is the main thing that you can use to get all the media and other harmful particles out of your system.
- Tubing – this will help you connect your filter to your water system.
- Shut-off valves – when you are maintaining your water filter, then you’ll need to turn off the water running through it.
- Bypass valves – again, these will help you redirect the water from your system when you are changing the filters on your water filtration system.
- Pressure gauges – these will help you to measure exactly how pressurized the water flowing through your filter is.
Here are some of the tools you’ll need to install your filter system:
- Drill and drill bits
- Adjustable wrench
- Pipe cutter
- Bucket
- Tape
- Screwdriver
- Solder supplies
How to install your whole house water filter system
- First, you’ll need to turn off the whole water supply to the house. Make sure everyone in the house knows that you’re doing this beforehand.
- Open all the faucets in your house – this will allow all the excess water to drain out of your system.
- Remove the copper pipe to accommodate your new filtering system. Make sure that you place a bucket underneath to collect all the spillage.
- Sand down both ends of the pipe to make sure that it does not cut into your filter. Make sure that you clean out any debris that has come through your pipe.
- Shut off the valves on one side of your pipe. This is an extra precautionary measure, even if your entire home water supply is turned off.
- You can install a pressure gauge at this point if you want to be able to measure the pressure of your water in the future.
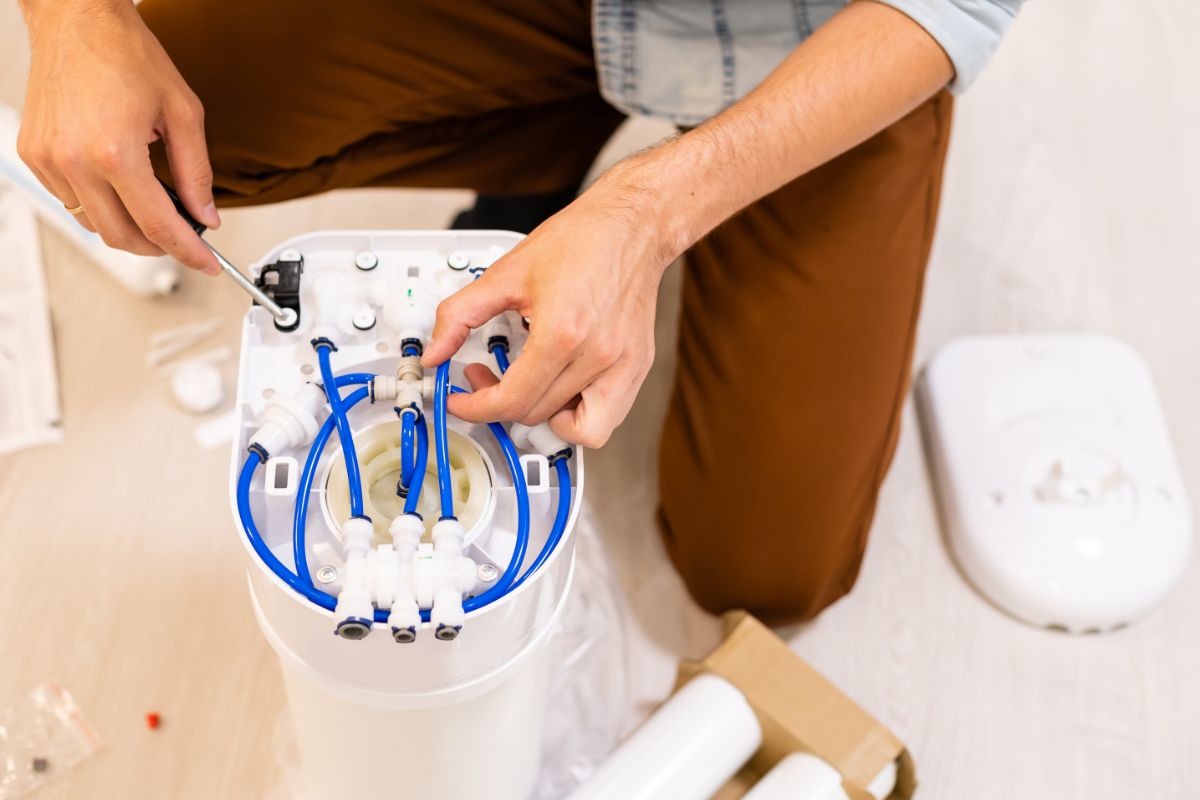
- Take a piece of plywood and attach it to the wall for extra mounting.
- Make sure that the in and out points of your water filter are facing in the right direction.
- Apply Teflon tape on the fittings to prevent any further leaking in the future. You can either solder or simply push your fittings together. Make sure the fittings are not put together too tightly, otherwise this will cause you cracks.
- Grease the O-ring on your water filter before affixing it to the wall.
- Once the water filter is securely fitted, then you can turn the water system of your home back on.
- Open all the valves on your water filter system apart from the bypass valve. This will allow you to check for leaks.
- Flush the system – make sure all the water from your home washes through the water filter system. This will allow for any leaks to show and all debris to become dislodged.
- Read the manufacturer’s instructions carefully to ensure that all of the filtering systems are working properly.
- Once all of these checks have been done, you can close the pressure systems and allow your water filter to do its job.
Frequently Asked Questions
How will I know if my water filter system has a leak?
Make sure that you run the water through your filter after it has been installed. Check the seams of your filter to make sure that there is no moisture seeping through. If you notice any leaking, then you might want to apply some Teflon tape to this area.
How long should my whole house water filter last?
A decent water filter should last you a few years, although you’ll have to make sure that you are changing the filters every 3 to 6 months. This way you can reduce the amount of damage that is done to your filter through limescale and mineral build-up.
Conclusion
When you are installing your water filter, you’ll need to make sure that you tighten all the seams properly to prevent leaking, although not so hard that you make them crack.
We hope that this guide has helped to nudge you in the right direction for installing your whole house water filter properly. However, bear in mind that all water filters are different and you’ll need to consult the manufacturer’s instructions for your model when installing.